
Monday, May 30, 2011
Memorial Day
Happy Memorial Day! Hope everyone has a great extended week-end. Here is a link to U.S. Memorial Day History.


Thursday, May 26, 2011
The Very Hungry Caterpillar
I am lucky that my son still enjoys one of my favorite books, "The Hungry Caterpillar". We read it again this week and then we decided to make some butterflies of our own.
Supplies:
Coffee filters
washable markers
water
pipe cleaners/chenille stems
Blow dryer - if you are as impatient as we are

Use the markers to color your coffee filters. There is no need to color it entirely, unless you want to. Once you are done coloring, spray water on the filter just until it flattens out, do not saturate the filter. This will allow the color from the markers to bleed and mix.

If you are impatient, use the blow dryer to dry the filters.

Once dry, smoosh the center of the filter and wrap the pipe cleaner around it, bending the ends to resemble antennae.
See our other book and craft ideas below:
Cloudy With a Chance of Meatballs
The Grouchy Ladybug
Enjoy!
Supplies:
Coffee filters
washable markers
water
pipe cleaners/chenille stems
Blow dryer - if you are as impatient as we are

Use the markers to color your coffee filters. There is no need to color it entirely, unless you want to. Once you are done coloring, spray water on the filter just until it flattens out, do not saturate the filter. This will allow the color from the markers to bleed and mix.

If you are impatient, use the blow dryer to dry the filters.

Once dry, smoosh the center of the filter and wrap the pipe cleaner around it, bending the ends to resemble antennae.
See our other book and craft ideas below:
Cloudy With a Chance of Meatballs
The Grouchy Ladybug
Enjoy!
Friday, May 20, 2011
Farm Study
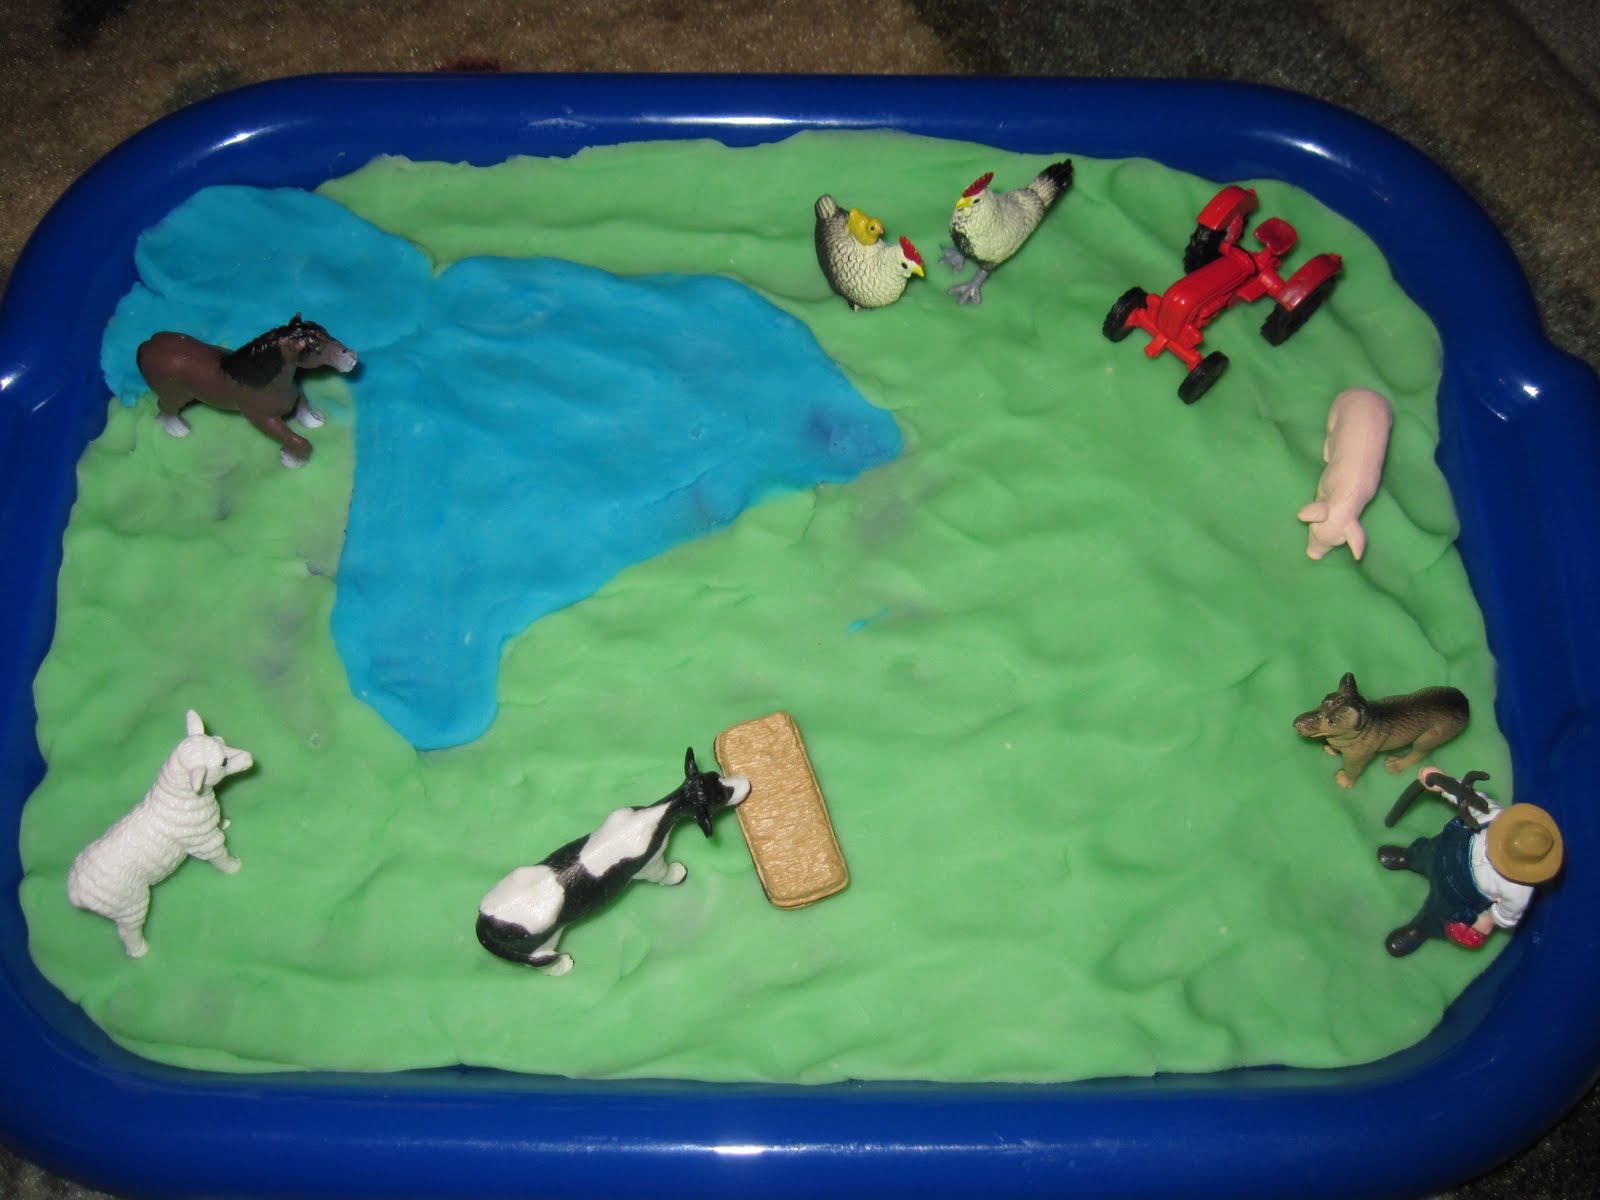
I made play dough for us in green and blue. I used my standard recipe of:
1 cup All Purpose Flour
1 cup Water
1 tbsp Cream of Tarter
1 tbsp Vegetable Oil
1/4 cup Salt
Food Coloring
Add all ingredients except food coloring to a pan and heat over medium heat until the dough forms a ball. Once it forms a ball, remove to a wax paper lined counter and knead until consistency feels correct. Seperate into the number of colors you want and add each color seperately. Knead well.
Once we had the blue and green dough we took one of our art trays and covered the tray with predominantly green dough for the grass and then added blue on for a pond and stream. Once the farm was ready, we added on our farm animals and played farmer.
Thursday, May 19, 2011
Making Puffy Paint

I have seen many blogs making homemade puffy paint and we decided to give it a try this week. We used the recipe from Pocketful of Posies The only materials we needed were tablespoon, containers, flour, salt, water, food coloring, cardboard and microwave.
For each color of paint you will put 1 tbsp. flour, 1 tbsp. salt and 1 tbsp. of water in a container and add 10 drops of food coloring. Mix well. Repeat for each color. We originally made lime green, blue and red. We used a spoon to drop this onto the back of an empty food box and then swirled it around with the spoon.
Next, put the cardboard in the microwave on high for 15 second increments until it dries. It took our first picture 1 minute 15 seconds to dry.

Once we had completed that we decided to make another painting but thought we would just use blue and green and would make Earth. I really liked this one. We put the blue paint on the cardboard and used the spoon to spread it out into a round shape. Next, we drizzled the green paint on. We then put this in the microwave in 15 second increments. I took this out before the center was completely dry as I wanted to see how it would look if we just let it dry naturally, would it still puff? It was still puffy but not nearly as much as the areas that were dried by the microwave.
Wednesday, May 18, 2011

Tuesday, May 17, 2011
Tuesday Teachings - Measuring Up
It is time for another math lesson. This week we are going to focus on measuring people and items. There will be numerous items that we are going to measure but the important part is the type of items we use to measure. Our focus is going to be on standard and non-standard forms of measurement. A ruler is a great item and a child should always learn how to measure with a standard school ruler but a ruler is not always available when you need or want to measure something. We went a step further with the ruler and pulled out our tape measure also. Kids are always excited to use “Grown up Tools” that they see their parents using. My son could barely contain the excitement when I let him use the tape measure.
When you are looking for things to measure, use everyday items to increase a child’s understanding of the concept of measurement. The terms standard and non-standard are used frequently when describing measurement. Measuring with standard units refers to measuring with inches, feet, yards, centimeters or meters using a ruler or other measuring device. Measuring with non-standard units refers to measuring with blocks, pencils, hands, etc.

We started by measuring with our standard school ruler that is 12 inches long. I laid out several things for my son to measure that I knew were shorter than 12 inches. We measured a dollar bill (6 inches)l, a crayon (3.5 inches), a marker (6 inches) and two pieces of chalk (4 inches and 3 inches).
 Each time we got ready to measure an item he would estimate how long he thought the item would be in inches. We wrote his estimate on our log and then we would measure the item and write the correct measurement on the log. After we measured the first piece of chalk he hypothesized that the second piece of chalk would have the same measurement. When we measured the second piece of chalk we found it was shorter than the first piece because we had actually used it on the sidewalk the previous day. He was surprised that it gets smaller.

After those items were measured I showed him the next items that we were going to measure: pillow (26 inches), book (11 inches), blackboard (17 inches), fire truck (18 inches) and his leg (17 inches). He again gave me his estimates for the length of each item and we recorded the estimates prior to measurement. When he started to measure he quickly realized he did not have enough rulers to measure any of these items. We talked about how when you are measuring items you need to be exact so we pulled out the tape measure and he used that to measure these items.

After these measurements were taken we sat down and talked about how other things are measured. Did you know that horses are measured by hands? We traced his hand and cut it out to measure items. One yard or three feet is the same as the distance from your nose to your thumb; that is how they measure fabric in non-standard units. We then went around trying to measure items in the house using his hand as a unit of measurement. After we measured a few items we talked about how sometimes you do not have a ruler or tape measure with you and you still need to know a measurement of on item. What do you do then? We pulled out a few items to use: Paperclips; pencils; Lego's; paper and a dollar bill. We pulled out all of the previous items that we had measured and used our non-standard units of measurement to get the length of the items. We enjoyed the non-standard units because it was fun to keep adding items on in order to figure out the length but it was also difficult to be exact.
I would call this lesson a huge success as currently we are measuring everything in my home!
When you are looking for things to measure, use everyday items to increase a child’s understanding of the concept of measurement. The terms standard and non-standard are used frequently when describing measurement. Measuring with standard units refers to measuring with inches, feet, yards, centimeters or meters using a ruler or other measuring device. Measuring with non-standard units refers to measuring with blocks, pencils, hands, etc.

We started by measuring with our standard school ruler that is 12 inches long. I laid out several things for my son to measure that I knew were shorter than 12 inches. We measured a dollar bill (6 inches)l, a crayon (3.5 inches), a marker (6 inches) and two pieces of chalk (4 inches and 3 inches).


After those items were measured I showed him the next items that we were going to measure: pillow (26 inches), book (11 inches), blackboard (17 inches), fire truck (18 inches) and his leg (17 inches). He again gave me his estimates for the length of each item and we recorded the estimates prior to measurement. When he started to measure he quickly realized he did not have enough rulers to measure any of these items. We talked about how when you are measuring items you need to be exact so we pulled out the tape measure and he used that to measure these items.

After these measurements were taken we sat down and talked about how other things are measured. Did you know that horses are measured by hands? We traced his hand and cut it out to measure items. One yard or three feet is the same as the distance from your nose to your thumb; that is how they measure fabric in non-standard units. We then went around trying to measure items in the house using his hand as a unit of measurement. After we measured a few items we talked about how sometimes you do not have a ruler or tape measure with you and you still need to know a measurement of on item. What do you do then? We pulled out a few items to use: Paperclips; pencils; Lego's; paper and a dollar bill. We pulled out all of the previous items that we had measured and used our non-standard units of measurement to get the length of the items. We enjoyed the non-standard units because it was fun to keep adding items on in order to figure out the length but it was also difficult to be exact.
I would call this lesson a huge success as currently we are measuring everything in my home!
Subscribe to:
Posts (Atom)